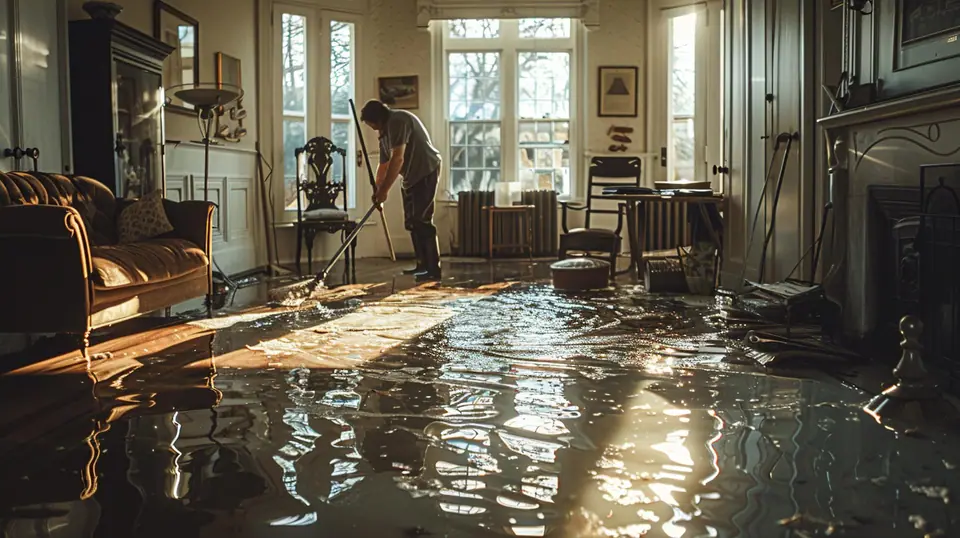
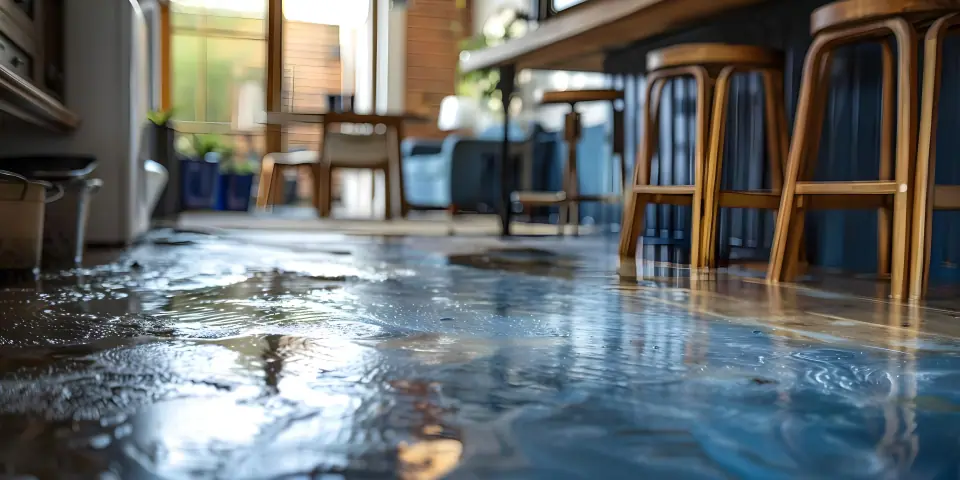
To document water damage for an insurance claim, photograph and video everything before cleanup starts, write down when and how the water got in, keep damaged items and receipts until your adjuster says otherwise, and keep the moisture readings and drying records from whoever dries the house. Those four pieces tell the story of the loss in a way an adjuster can follow. Good records do not guarantee what a policy pays, but missing records make every conversation harder.
Here is how to build that file step by step, from the first ten minutes to the day the walls read dry.
Start With Safety and the Source
Documentation matters, but it comes second. Shut off the main water valve if you can reach it safely, and turn off power at the breaker to any wet area near outlets or appliances. If the water came from a broken supply line, a water heater or a roof leak, stopping it is part of protecting the property, and insurers generally expect homeowners to take reasonable steps to prevent more damage.
Once the water is stopped and the area is safe, pick up your phone and start recording before you move anything.
Step 1: Photograph and Video Everything Before Cleanup
Photos taken before anything is moved are the foundation of the file. Take both wide shots and close-ups:
- The source. The burst fitting, the failed supply line, the leaking tank, the opening in the roof. If a plumber replaces a part, ask to keep the old one.
- Every affected room. Stand in the doorway for a wide shot, then work your way around the room.
- The water line. Marks on walls, cabinets and furniture show how high the water reached.
- Flooring and baseboards. Swollen laminate, cupped boards, soaked carpet and pad.
- Ceilings. Stains, sagging drywall or drips from above.
- Damaged belongings. Close enough to read brand names and model numbers where you can.
Video helps because it shows how rooms connect and how far the water traveled. Walk slowly and say what you see: the date, the time, which room you are in. Your phone records the date on each photo, so do not edit or crop the originals. Copy them to a cloud folder or email them to yourself so they survive even if the phone does not.
Step 2: Write Down What Happened While You Remember It
Adjusters ask the same questions on almost every water loss: what failed, when it started, when you found it and what you did next. Write the answers down the same day, in plain language. A short timeline works well:
- When and where you discovered the water.
- What you believe caused it, described as what you saw rather than a guess.
- When you shut off the water and the power.
- Who you called and when: plumber, restoration company, insurance company.
Stick to facts. If you do not know when a leak began, say you do not know. Coverage often depends on whether damage was sudden or developed slowly, which we explain in our guide to whether homeowners insurance covers water damage in Texas. An honest, accurate timeline protects you better than a guess.
Step 3: Report the Loss and Start a Claim Log
Report the loss promptly. The Insurance Information Institute advises homeowners to phone their insurance professional right away and ask how long they have to file, whether the loss is likely to exceed the deductible and whether repair estimates will be needed. Have your policy number, address and phone number ready when you call.
Then start a claim log. A notebook or a note on your phone is fine. For every contact, record:
- The date and time
- The name of the person you spoke with
- Your claim number
- What was said and what happens next
When an email or letter arrives, save it in the same folder as your photos. One organized place for everything saves hours later.
Step 4: Keep Damaged Items Until the Adjuster Has Seen Them
It is tempting to drag soaked carpet and ruined furniture to the curb on day one. Wait if you can. The same Insurance Information Institute guidance says to avoid throwing out damaged items until the adjuster has visited, where possible. If something has to go for health or safety reasons, such as materials soaked by sewage, photograph it first, note its size and condition, and keep a small cut sample of the carpet, pad or flooring.
Make a room-by-room list of damaged belongings: what each item is, the brand, roughly when you bought it and whether you have a receipt. The National Association of Insurance Commissioners recommends making a list of all your damaged property before you meet with the adjuster. Online order histories and bank statements can fill the gaps where paper receipts are gone. Some items can be cleaned and dried instead of replaced; our page on contents restoration after water damage explains what that looks like.
Step 5: Save Every Receipt
Keep receipts for anything you spend because of the loss: emergency plumbing, fans or a wet vacuum bought that night, tarps, a hotel stay, meals out while the kitchen is unusable. Many homeowners policies include some coverage for additional living expenses if you cannot stay in the home, but you will need proof of the costs. Put paper receipts in an envelope and photograph them as well.
Step 6: Ask for Moisture Logs and Drying Records
This is the part most homeowners do not know to ask for, and it is often the most useful. Water does not stop where you can see it. It wicks up drywall, soaks into the subfloor and sits inside wall cavities. Photos show the surface. Moisture readings show what is happening inside the materials.
On a professional drying job, technicians check wet materials with moisture meters and thermal imaging, then take readings again each day until every material reaches its dry standard. Those moisture logs and drying records show:
- Which materials were wet, and how wet, at the start
- Where the drying equipment was placed
- How the readings dropped from one day to the next
- When each area was confirmed dry
That record answers two questions an adjuster cares about: how big the loss really was, and whether the house was dried properly. You can read more about why measured drying matters in the science of drying.
At Wet To Dry Restoration, insurance paperwork is part of every water job: photos, moisture logs and drying records your adjuster can use. We can help you document the loss and answer the adjuster's technical questions about the drying. We do not decide coverage, and we cannot promise what a policy will pay. That decision belongs to your insurance company.
Step 7: Get Ready for the Adjuster's Visit
When the adjuster schedules an inspection, pull your file together:
- Photos and videos, sorted by room
- Your written timeline and claim log
- The damaged-property list and receipts
- Kept items and material samples
- Moisture logs, drying records and any written estimate from your restoration company
Walk the adjuster through every affected area, including closets, cabinets, the attic above a ceiling leak and the rooms next to the wet one. Take your own notes during the visit, and if anything is unclear, ask for it in writing.
Common Documentation Mistakes
Cleaning up before taking pictures
Once the water is mopped up and the carpet is pulled, the best evidence is gone. Record first, then clean.
Waiting days to report
Delays make the timeline harder to show and give water more time to spread into framing and flooring.
Trusting that it looks dry
Surfaces can feel dry while wall cavities and subfloors are still wet. Without readings, nobody can show the job was finished.
Guessing about the cause
Say what you saw. If you are not sure when a leak started, say so.
Frequently Asked Questions
Should I call my insurance company or a restoration company first?
Call both quickly, in whichever order gets the water stopped and drying started soonest. Protecting the home from further damage is expected, and drying should not sit for days waiting on an inspection. Take your photos before any work begins.
Can drying start before the adjuster comes out?
Usually, yes, and waiting can make the damage worse. Document the damage first, keep removed materials or samples, and keep the drying records so the adjuster can see what was done and why. If you are unsure, ask your insurer when you report the loss.
What if I already threw some things away?
Tell your adjuster. List each item from memory with as much detail as you can, and use any photos, order histories or bank statements that show what it was.
Do moisture readings really matter for a water damage claim?
They show what photos cannot: how wet the hidden materials were and when they reached dry. That helps explain the scope of the work and shows the house was dried properly.
Will Wet To Dry Restoration talk to my insurance company?
We can help you document the loss and provide photos, moisture logs and drying records for your adjuster. The claim itself, and the coverage decision, stay between you and your insurer.
Need Help Documenting Water Damage?
If water got into your East Texas home, the sooner drying starts, the less there is to repair and the clearer your records will be. Wet To Dry Restoration answers 24/7 and gives free estimates for water damage restoration. Call (903) 869-8838 or request a free estimate.